
Introduction
I have a Beelink SER mini PC at home equipped with an AMD Ryzen 7 5800H CPU (8 cores, 16 threads), two 16GB DDR4 3200 RAM sticks, and a 1TB NVMe SSD. Since my home broadband comes with a public IP, it has been running 24/7 as a home server.
It had always been running Windows. Over time, I piled more and more tasks onto it, but the stability was never quite where I wanted it to be. This post documents why I eventually decided to reinstall everything with PVE (Proxmox VE), how I set it up, and how the virtual machines are partitioned now. Along the way, I also tore it down for some dust cleaning, so there are a few pictures included.
p.s. This is more of an experience and mindset log rather than a step-by-step tutorial.
1. More and More Work Piled on Windows
Initially, it was just an ordinary Windows machine. Later, I assigned more and more jobs to it:
- Various Services: A few self-written services (like an AI service), ddns-go (which automatically updates my dynamic public IP to my domain), an Nginx gateway, and proxy utilities like Hysteria 2 (hy2).
- NAS & Smart Home: fnOS (Feiniu OS) and HAOS (Home Assistant OS).
- Windows-Exclusive Applications: A few apps that only exist on Windows and must run in a Windows environment.
Among these, only the third category genuinely required Windows. The first two were just piggybacking on it.
2. Stability Issues Never Went Away
Using Windows as the host OS came with two major problems:
- Windows itself is a resource hog. The OS disk easily takes up dozens of gigabytes, a bunch of useless background services run constantly, and it eats up a large chunk of RAM.
- It restarts on its own. No matter how you tweak the Windows Update policies, it always finds an excuse to reboot every once in a while. When the host reboots, every single service goes down, and fnOS disconnects along with them.
3. Three Iterations of Service Deployment
To make those services run more stably, I cycled through three different approaches.
1. The Hyper-V Era
Initially, I spun up Linux VMs inside Hyper-V (Windows’ built-in hypervisor) to host services, and fnOS ran there too. That setup suffered from three issues:
- Heavy resource overhead. Each VM had to run a full Linux OS. As services grew, each VM added its own OS-level overhead.
- Unreliable auto-start after power loss. Sometimes after a power outage and recovery, the VMs would fail to start up properly.
- Too bloated overall. Later, I thought WSL would be lighter, so I switched to WSL.
2. The WSL2 Era
WSL2 is the subsystem for running Linux inside Windows. It is much lighter than traditional VMs, but brought a new set of headaches:
- Networking pain. Although WSL supports mirrored networking (sharing network adapters and IPs with the Windows host), configuring it reliably is a real pain.
- File sharing with the host was prone to errors. Service logs and miscellaneous files resided on the Windows side. WSL’s default file sharing threw errors when files were modified concurrently from both sides. It only improved after switching over to SMB shares.
- Randomly exiting. Even with active background services, WSL would terminate itself out of nowhere. I had to write a keepalive script on Windows just to keep it alive.
3. All In Docker based on Windows
Next, I installed Docker directly on Windows and shoved all services into containers. But Docker Desktop for Windows essentially runs on top of WSL anyway—it is just a dedicated WSL distro running the Linux version of Docker. So that extra layer remained, and all the quirks with it.
The most memorable issue: UDP port forwarding in Docker on Windows goes through an extra layer, leading to cases where the container is clearly alive, but the port stops accepting traffic. To work around this, I had to deploy a “sidecar” container specifically for hy2: every 30 seconds it performed a real handshake, and if it failed, it fired an alert and restarted the service. It worked, but needing such a hack proved the foundation was flawed. Along with various other messy glitches, it was simply exhausting.
After cycling through three different solutions, the root cause remained the host layer: as long as the host was Windows, its reboots, resource hogging, and translation layer for the Linux ecosystem were unavoidable.
4. Why Switch to PVE
This machine actually packs plenty of power; there is no need to bottle it all up under a single Windows instance.
Proxmox VE (PVE) is a Debian-based virtualization platform installed bare-metal, allowing you to manage VMs and containers via a web UI. After migrating to it, the strategy became clear:
- The host does nothing but virtualization. It runs no user workloads and will not reboot out of the blue.
- When Windows is needed, spin up a lightweight Windows VM solely to run Windows-exclusive apps.
- Offload other services to a stable Linux VM, running all Docker applications natively without translation layers.
- Give systems like fnOS and HAOS their own dedicated VMs.
This way, CPU cores and RAM can be allocated on demand. If something breaks, only that specific VM needs a reboot without affecting others. Backups and snapshots are handled natively by PVE. It is a clean slate, and expanding in the future becomes seamless.
5. Cleaning Out the Dust First
Before getting to work, I took the machine apart for a quick dust cleanup.

Inside are the two 16GB RAM modules (bought back before RAM prices surged) and next to them is the 1TB SK Hynix NVMe SSD. Overall, the hardware specs are quite solid.
When cleaning the bottom cover, I facepalmed: turns out I had never peeled off the protective film on the SSD’s thermal pad.
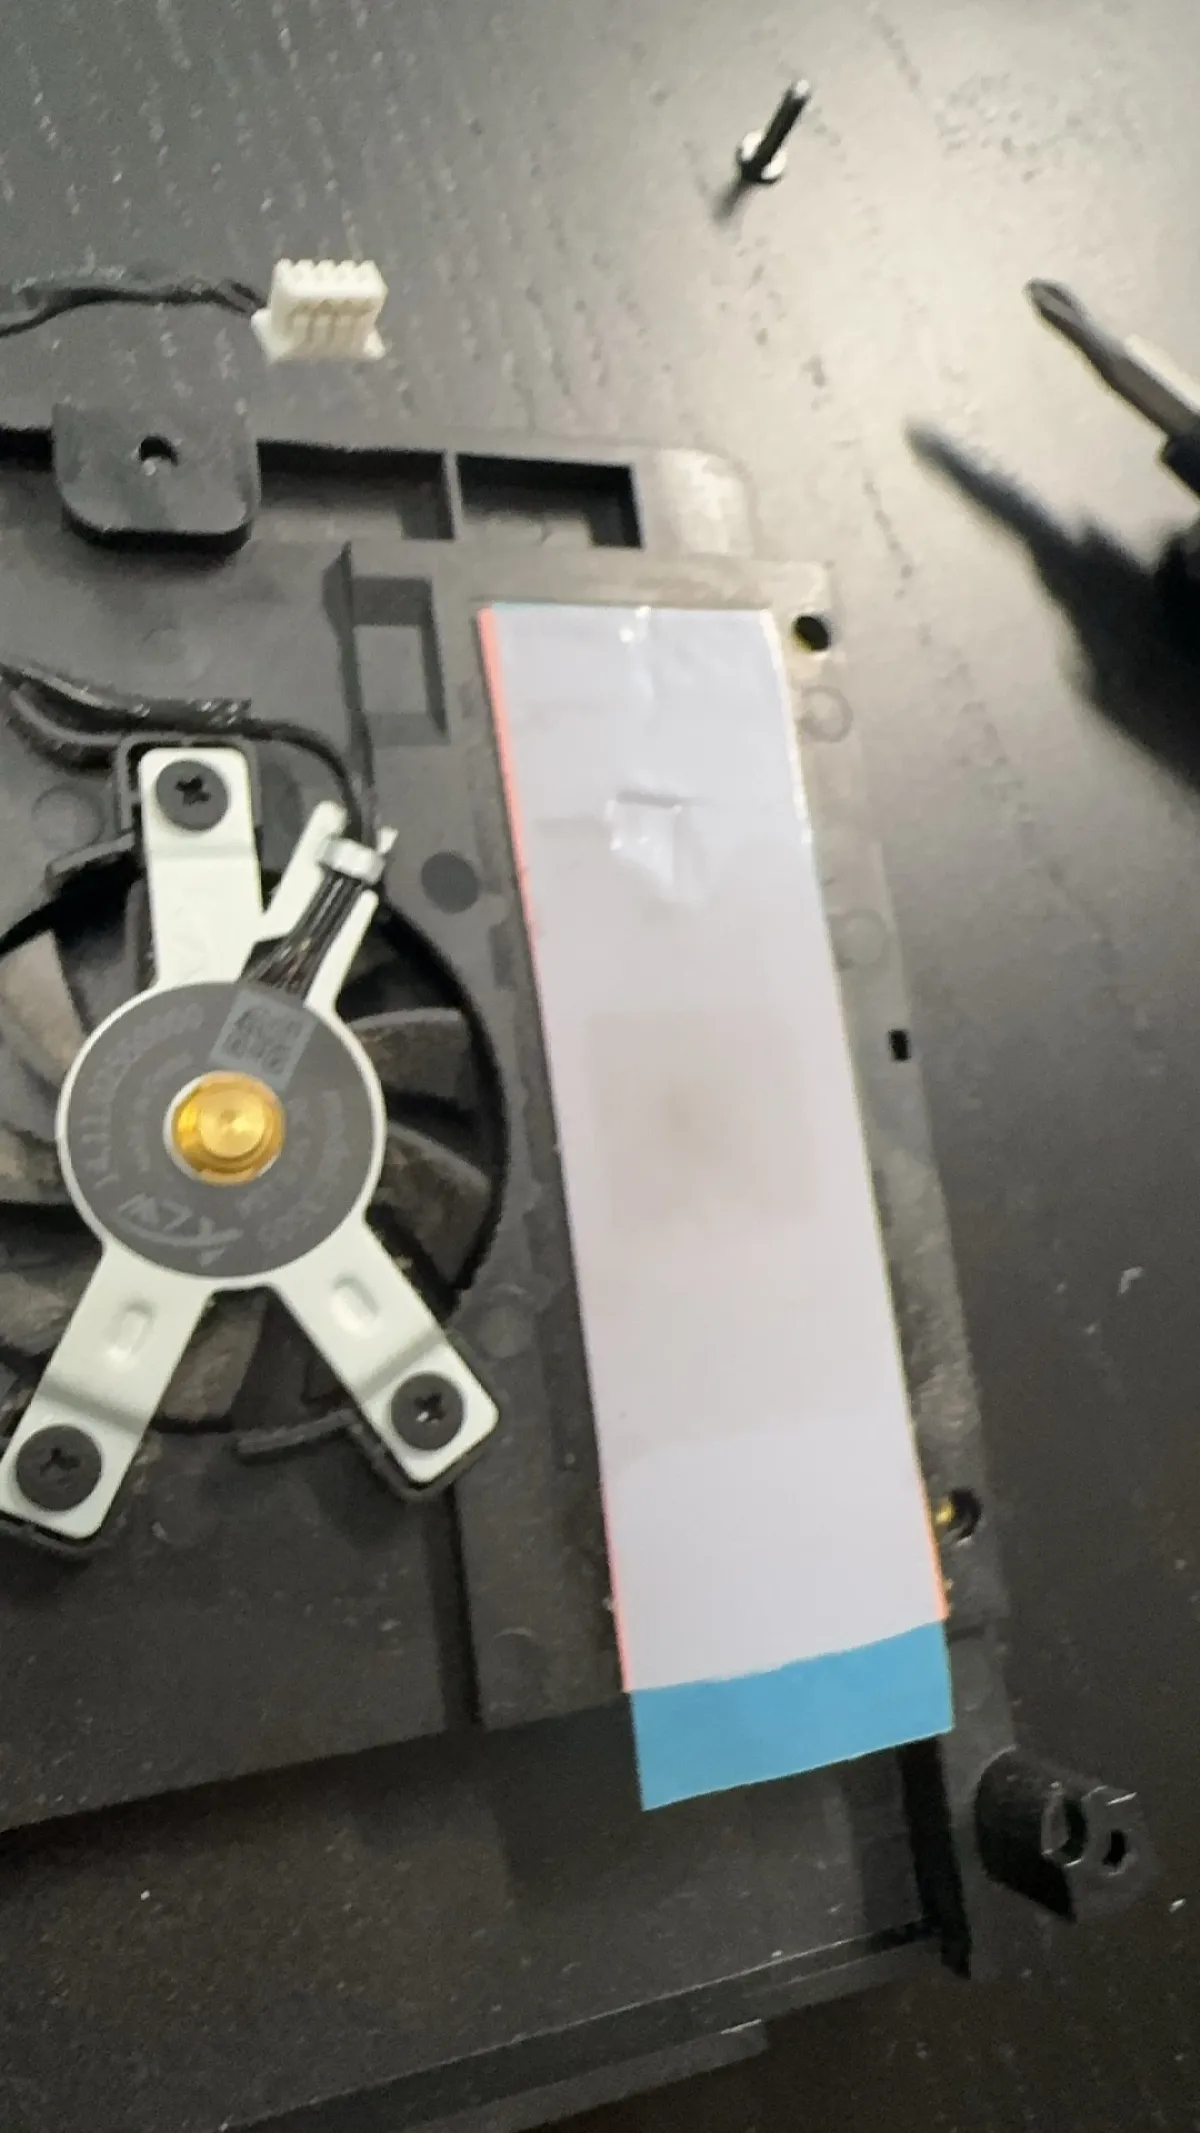
While cleaning, I noticed a SATA connector on the bottom bracket, which reminded me of an old 2.5-inch mechanical HDD sitting around.

This was salvaged from an ancient Mac over a decade ago. Since then, it barely saw any use except as a spare, and I had bought an external enclosure for it back then. Now that I use NVMe external enclosures, this drive was totally obsolete. Might as well slap it into the mini PC as a backup/storage drive.

Being an older drive, it is 9.5mm thick. Even though it is a 2.5-inch drive, it was a tight squeeze and made the bottom cover bulge slightly. But after tightening down the four corner screws, it did not stick out too much.

It looks a bit funny with its potbelly, but it works without issues. I later formatted it specifically to store PVE VM backups.
6. Backing Up the Data First
My Mac has an 8TB drive, which is more than enough for the migration, so I dumped everything onto the Mac first. The data I actually needed to move was pretty minimal:
- fnOS Virtual Disk: Originally 250GB. I copied out the large files first, reclaimed unused space inside fnOS, shrunk the virtual disk, and got it down to just 33GB.
- Configurations and data for each service: Totaled around 2GB. Docker images and Git repos can always be pulled again, so no need to back those up.
After copying and verifying checksums, I started working on the machine.


7. BIOS Configuration and PVE Installation
First, I flashed the PVE ISO onto a USB drive on my Mac.

Then, I went into the BIOS and adjusted a few settings:
- Enable virtualization: SVM (AMD CPU virtualization) and IOMMU (required for device passthrough).
- AC Power Loss recovery: Automatically powers on after an outage without needing someone to press the power button.
- Reduce iGPU VRAM to 1GB (previously 3GB when Windows was the host; now I can lower it to free up more RAM).
- Set System Mode to Performance Mode and enable CPPC (enabling finer-grained CPU frequency scaling, which the PVE governor relies on).


After applying settings, I booted from the USB drive to install PVE 9.


After installation, I made a small tweak: set the CPU scaling governor straight to performance mode. This machine runs 24/7 plugged in—I don’t care about power consumption, I only care about performance.
8. Allocating Virtual Machines
There are currently four VMs running on PVE:
| Virtual Machine | OS | Specs | Purpose |
|---|---|---|---|
| ser-docker | Debian 13 | 4 Cores / 4G | All Docker services |
| ser-fnos | fnOS (Feiniu OS) | 4 Cores / 4G | NAS, existing virtual disk imported directly |
| ser-win | Windows Server 2025 | 4 Cores / 6G | Runs only Windows-exclusive apps |
| ser-mac | macOS 15 (Hackintosh) | 8 Cores / 8G | Dedicated to AI Agent use |
After migrating to the Docker VM, I immediately deleted the “sidecar” watchdog container previously created for hy2. On Linux, UDP packets are routed directly by the kernel, so the old bug simply vanished.
This time around, I installed Windows Server instead of Windows 11. The Server edition cuts out the bloatware and offers granular control over system updates, making it much better suited for long-running apps. There was one minor hiccup during installation: PVE assigns VirtIO virtual disks, which the Windows installer doesn’t recognize out of the box—no disks showed up until I manually loaded the VirtIO drivers.


Finally, I also set up a Hackintosh VM. Since the iGPU cannot be passed through or properly accelerated, GUI rendering falls back completely on CPU software rendering, making it a bit sluggish. However, this CPU is decent enough that without graphic-intensive workloads, pure CPU brute-forcing handles most compilation and web browsing tasks fine. It is more than enough for an AI Agent.

My daily driver Mac is plenty powerful, so the division of labor is straightforward: compilation, iOS development, and graphical tasks happen on my local Mac; miscellaneous chores like web browsing are delegated to the Agent running on the virtual Hackintosh. Neither interferes with the other, and I do not have to surrender my own workstation to the Agent.
Conclusion
After years of tinkering across Hyper-V, WSL2, and Windows Docker, I finally realized the problem wasn’t the individual solutions, but the host OS itself. Once the host switched to PVE, Windows retreated to what it does best—just a dedicated VM for Windows apps—while everything else runs natively on Linux.
All articles in this blog, unless otherwise stated, are licensed under @Oreoft . Please indicate the source when reprinting!